


Playing with the alphabet is a great way to help your preschooler learn the alphabet and promote letter recognition, and this easy-to-make fabric alphabet will provide hours of kid-friendly, educational fun!
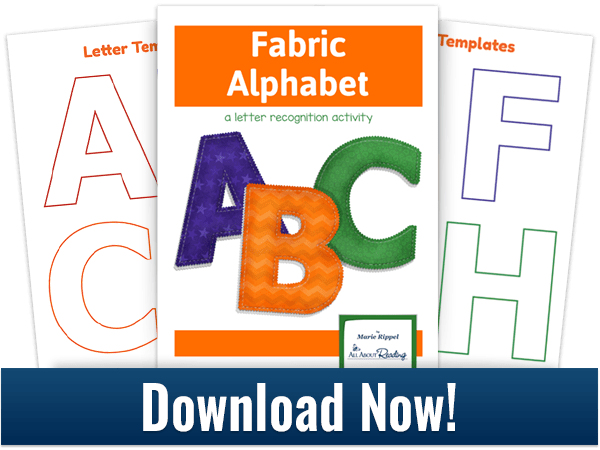
Our free download includes step by step instructions and printable letter templates so you can jump right in and make your own set of fabric letters!
Ready to Get Started?
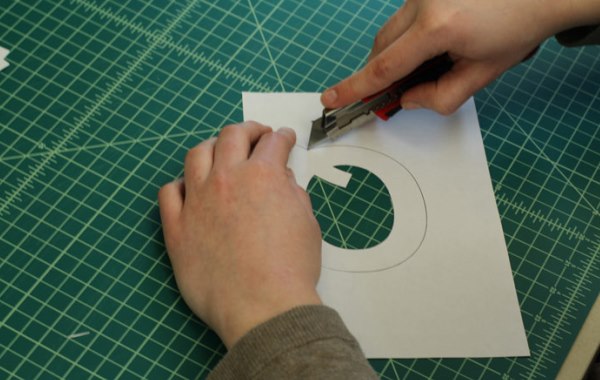
Print out the alphabet letter templates and cut out each letter using scissors or a utility knife.
Cut solid-color fabric, print fabric, and two layers of quilt batting into twenty-six five-inch squares. Squares should be large enough to accommodate the letter template plus a little bit of extra cutting room around each letter.
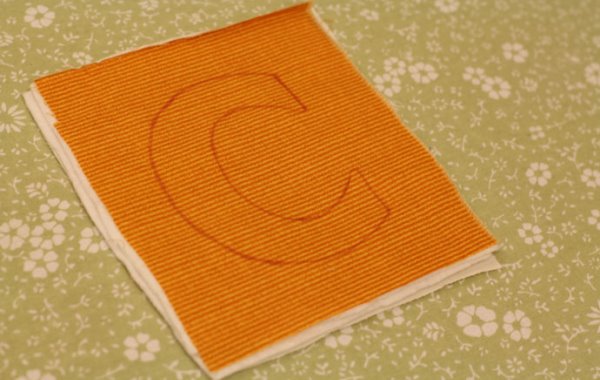
Trace each letter onto one square of print fabric. I used a disappearing marking pen, but feel free to use pencil. Pin together all layers.
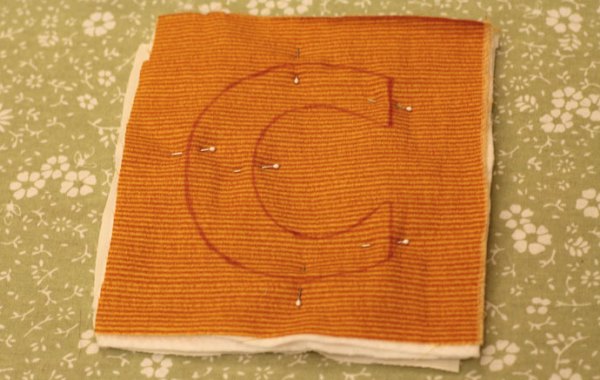
Using a sewing machine, sew layers together with a wide stitch along the traced line.
Cut around each letter with pinking shears, about 1/4″ from the stitching. Cut out center holes (as in letters A, B, D, etc.) with small fabric scissors.
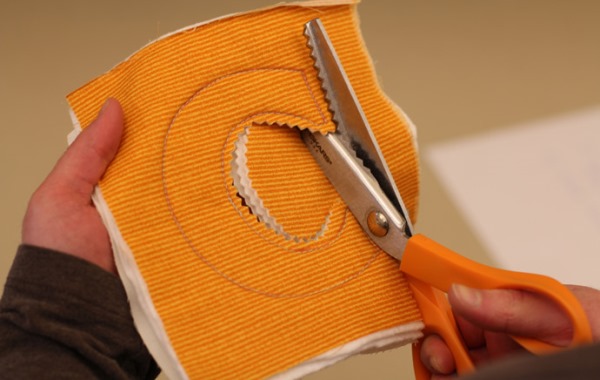
Repeat steps 3-5 with each letter of the alphabet. If you used a disappearing marking pen, remove the marks with a damp cloth (or follow the instructions for your pen).
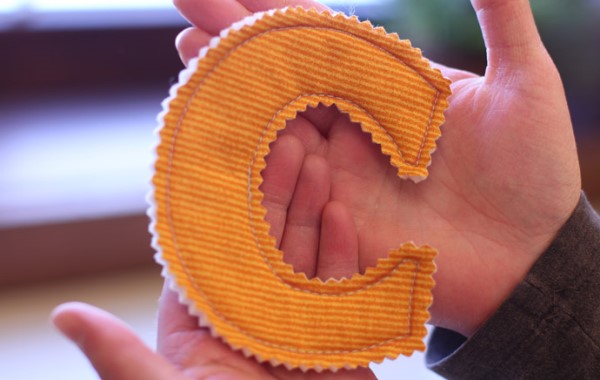
Ways to Play with Your Fabric Alphabet
For plenty of transportable (and decorative!) fun, store your letters in a basket on your child’s bookcase!
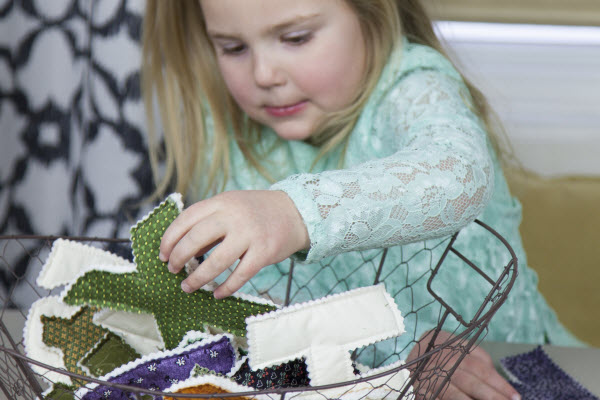
Admire your handiwork and then give the letters to your little one to let the fun and learning begin! Can she spell her name?
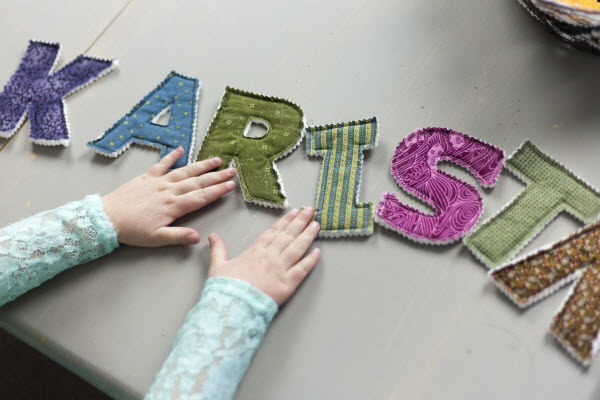
Or spell some easy words? It’s time to let the learning begin!
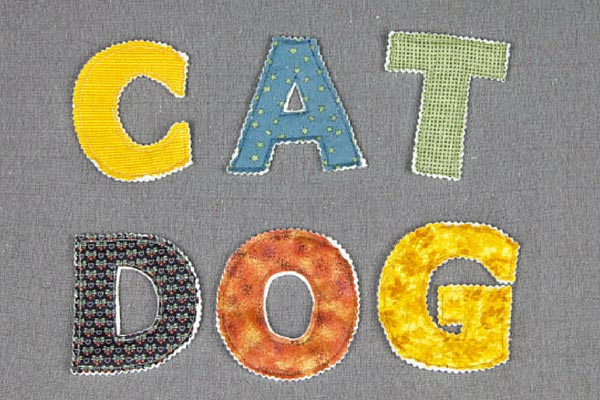
If you make a set of fabric letters for your child, we’d love to see some pictures! You can share your photos with us on Facebook or Instagram (tag @allaboutlearning)!
Create Your Own Template for Lowercase Letters and Numbers:
Here are instructions for creating your own template:
1. In Microsoft Word, type up the alphabet from A-Z and the numbers 0-9, using your favorite font and font size.
2. Select all of the letters, and then click the Text Effects tool. (In Microsoft Word 2010, the Text Effects tool is in the toolbox under Home, to the left of the highlighting tool. The icon for the text effects tool is a blue A.)
3. Choose whatever outline style your heart desires, and then voilà! That’s it! You’ve made your own customized template!
Fabric Alphabet Tips Recommended by Our Readers:
- Sew magnets into the back layer of each letter so letters can be used on a white board. (Recommended by Chelsea B. via blog comment.)
- Skip the batting and use felt or flannel as the backing so they can be used on the felt board. (Recommended by Chelsea B. via blog comment.)
- Sew letters together with black embroidery floss instead of on a machine so the stitching really stands out. (Recommended by Beverly G. via blog comment.)
- Use a lightweight tear away fabric to trace a whole page and pin or glue it to the fabric layers then sew through the whole thing. When done with each page of templates, there will be four complete sets of letters. (Recommended by Linda via blog comment.
- Use coordinating colors or designs for the letters – apple print for “A”; blue print or banana print for “B”, etc. (Recommended by Paula via blog comment.)
- Have an older child create this set for a younger sibling! (Recommended by Deb via blog comment.)
- Dots for lower case letters – like in “i” and “j” – can be attached by sewing a layer of clear table cloth covering in between. (Recommended by Cynthia via blog comment.)
Did your preschooler enjoy this activity? Try some of our other great letter recognition activities!


Comments
No comments yet. Our team reads and replies to every one.